
Window AC Installation – Tips and Tricks
Installing a window AC can be a challenging task. However, with the right steps and tips, it doesn’t have to be a daunting one. Whether you are installing one for the first time, or considering Window AC Installation as a DIY project, here are some tips and tricks to ensure a successful installation.
Preparation
Before jumping into the installation process, there are several things you should consider and do. First, make sure the window is the right size for your AC unit. The wrong size window can lead to improper installation, which can decrease your AC unit’s efficiency. Your next step is to measure the window for your unit. Consider the base of your window as well as the height, depth, and length. Make sure you also check for any obstructions behind the window that may limit or interfere with the installation and cooling of your window AC. Remember to select a model compatible with your home’s cooling needs before attempting to install it.
Installing Your Window AC
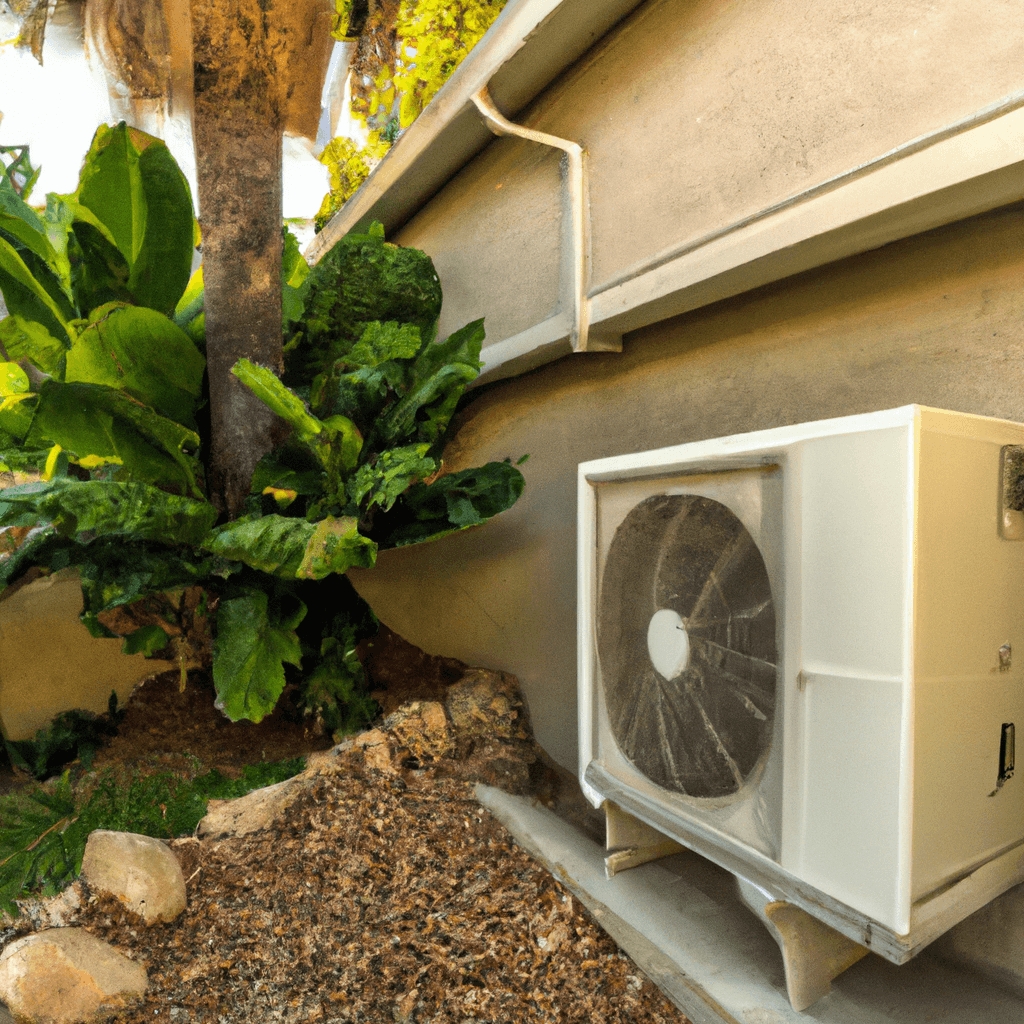
Once you have all the necessary preparations, it’s time to install the unit. Start by attaching your AC’s mounting bracket to the center of the window’s top sash. Have someone help you support the window AC’s weight, then secure the bottom brackets. Ensure that the mounting screws are tight, but not too tight, to prevent damaging the window unit. Be sure to place the head of the screw behind the AC’s outer flange and not the window sill.
For the proper sealing, your window AC unit should be slightly larger than the window’s opening. Cut some foam weather stripping, then place it around the frame and between the frame’s sash and the window. This helps keep your unit secure and prevents vibrations and rattles. Insert the window AC side panels into the window frame, then push the AC unit into place. Secure all of the other screws and make sure the weather stripping is securely tucked into the window frame and all other holes.
Finishing Up the Installation
Once your window AC is in place, it’s time to connect it to electricity. Connect the AC’s power cord to the power outlet, and make sure it fits perfectly and snugly. Turn the power switch on and check that the unit is operational. Next, install the window AC’s remote control to the front of the unit. This will allow you to adjust the cooling settings from anywhere in the room. Lastly, check the window AC’s accessories and make sure they are in the right place. If you need any additional or replacement parts, consider contacting a local reliable appliance repair shop for assistance.
Window AC installation can seem overwhelming, but with the right steps and helpful tips, it doesn’t have to be. With proper preparations and a few simple steps, you can have your window AC up and running in no time. To ensure a successful window AC installation and keep it running effectively and efficiently, consider contacting a certified technician or local reliable appliance repair shop. They can provide you with expert assistance and advice when it comes to window AC installation and help your unit run optimally. When dealing with window AC installation, the pros at (866) 311-8590 can help you resolve any issues and make sure your unit is running at its best.


Window AC Installation: Best Practices and Recommendations
Installing an air conditioner can be an intimidating task, but with the right advice, it can be an easy and efficient process. To ensure that no issues arise during your Window AC Installation, we have compiled a list of best practices and recommendations given by both manufacturers and local appliance companies or HVAC technicians.
Follow Manufacturer Guidelines
It is important to read the manufacturer’s manual and follow the instructions they have given to ensure a successful installation. If a piece of equipment is installed in a way that was not specified in the manual, it could lead to improper functioning and potentially disastrous consequences. Additionally, double-checking measurements of both the installation space and the air conditioner is essential to ensure proper fit.
Find a Qualified Installer
Having a qualified, experienced individual conduct the installation is crucial. This is true whether the installer is a professional from the manufacturer or a local HVAC technician. Not only do these individuals possess the tools and the knowledge for a proper installation, but they are also up to date on local regulations and safety standards. Utilizing the skill and experience of an experienced professional is a necessary step in the installation process.
Consider Your Home’s Airflow
In addition to the dimensions of the space and the measurements of the air conditioner, the amount of airflow in and out of the installation area should be taken into account when selecting a location for the air conditioner. Taking the time to consider this will prevent any issues that may arise from improper installation.
Anchor and Seal the Unit
To ensure the air conditioner is safe and secure, it is important to mount, anchor, and seal the unit properly. Mounting helps prevent the unit from shifting, while properly sealing it will ensure that no airflow is lost and that the unit is operating at maximum efficiency.
Safety
Safety should always be a top priority when installing an air conditioner. Careful consideration and adherence to safety protocols and protocols is a must. Following these guidelines will help ensure that nothing is overlooked and that the installation is done correctly.
Schedule Maintenance
To ensure the air conditioner is running at optimal performance, regular maintenance should be scheduled. This should include cleaning, inspection, and any necessary repairs or calibration. Scheduling regular maintenance will keep the unit in top condition, providing the best performance and the best possible cooling experience for years to come.
To ensure a successful Window AC Installation, it is important to follow the manufacturer’s guidelines, find a qualified installer, consider the home’s airflow, anchor and seal the unit, and follow safety and maintenance procedures. By taking these steps, the installation process will be quick, easy and efficient. If you need assistance with Window AC Installation, please call Local Reliable Air Conditioning & Heating at (866) 311-8590.
Average Repair Cost for Window AC Installation
Installing a window AC unit requires professional knowledge and skill in assembling the components and connecting them. The average repair cost for window AC installation depends greatly on factors like the complexity of the installation, including parts needed, complexity of parts if any need to be replaced, availability of the parts, and any additional labor associated with the installation.
The minimum repair or installation cost in California is typically around $150-$200, while a more complex installation can cost up to $500. For example, if the AC unit needs to be installed in a very tight space or space without access to the window, or if the existing window must be expanded to make room for the AC, the cost can be significantly higher.
Parts that are typically needed for a window AC installation include a window seal, insulation, window foam, brackets, screws, mounting screws, and wiring. It is important to note that these parts must be correctly installed using the right tools and techniques to ensure the unit’s proper functioning and operation. Additionally, it may be necessary to purchase additional parts to ensure the proper installation of the AC unit, such as a timer or humidistat.
For reliable AC installation and repair services, we recommend Local Reliable Air Conditioning & Heating at (866) 311-8590 866-311-8590.
Install a Window AC and Cool your Home with Reliable Air Conditioning & Heating
When the summer months hit, it’s imperative to have a dependable air conditioner to keep your home cool and comfortable. Reliable Air Conditioning & Heating is a family-owned company in California that provides same-day service for appliance and HVAC repair and installations. Their technicians are highly trained professionals with a minimum of five years of experience in the field dealing with Window AC installation.
Reliable is licensed and insured and offers same-day services at affordable and fair prices. Plus, they also provide a 90-day warranty on every repair. With Reliable Air Conditioning & Heating, you can be sure you’re getting professional service at competitive prices. The company also offers a great selection of air conditioners for your windows that are perfect for both small and large rooms.
Installing a window AC is the perfect way to keep your home cool and comfortable, and Reliable Air Conditioning & Heating can take care of it. From helping you choose the right model to providing industry-leading installation services, they have you covered. Plus, they can help you troubleshoot any AC problems you’re experiencing and provide timely repairs that keep you cool.
When you trust Reliable Air Conditioning & Heating to do the job, you can be sure that you’re getting superior service and quality. From start to finish, they will ensure your window AC is securely and correctly installed. Now, that’s something to cool off about!
FAQ: Window AC Installation – Tips and Tricks
Q1. What are the tips for installing a window air conditioner?
A1. Installing a window air conditioner correctly is paramount for optimum performance and energy efficiency. Here are the seven tips for Window AC Installation:
* Measure window accurately for the best fit.
* Add insulation around the unit to block drafts.
* Level window AC for even cooling.
* Place the mounting bracket carefully.
* Attach flexible exhaust tube correctly.
* Test AC is securely locked before using it.
* Plug the AC power cord into the power outlet.
Q2. What is the ideal location for window AC installation?
A2. The ideal location for window AC installation is the area that has access to direct sunlight. Make sure that the wall, the window, and the surrounding environment have enough room to accommodate the AC unit.
Q3. How do I insulate my window AC?
A3. You can insulate your window AC by adding a layer of insulation around the unit. This will help prevent drafts from entering and make the air conditioning system more energy efficient. Seal any door or window gaps near the AC to reduce heat loss.
Q4. What is the best way to level a window AC unit?
A4. To ensure proper operation and even cooling, use a spirit level to level the top of the window AC. Use pieces of wood shims or insulation foam to do the final level adjustment.
Q5. What should I do if I’m having trouble installing my window AC?
A5. If you are having trouble installing your window AC, contact a reliable appliance repair service. Local Reliable Appliance Repair offers professional window AC installation and repair service. Call now at (866) 311-8590 for assistance.