
Tips for a Successful Mini Split AC Installation
Installing a Mini Split AC is a complex and delicate process, even for the most experienced DIYers. A wrong installation can damage property and cost thousands of dollars in repairs. That is why it is so important to get it done right the first time. To help you install a Mini Split AC as successfully as possible, we have complied a list of tips and tricks.
Research Mini Split ACs
Before purchasing a Mini Split AC, it is wise to do some initial research. After all, these heat pumps come in various models and sizes, so it is important to match the right type with your house or building. The size of your Mini Split AC should reflect the mounting area and how many rooms are heated or cooled with the system. Checking the SEER rating or energy efficient ratings of the chosen Mini Split AC is essential to get the right one.
Measure Room Size and Check Room Placement
Once the right size and model of Mini Split AC are chosen, the next step is to carefully measure the installation area and take into account the height of ceilings and size of windows, walls, and hallways. It is encouraged to practice safety first and keep a ladder or stool to reach all areas of Mini Split AC installation for energy efficiency and comfort. If a system is installed too close to windows, walls, and ceilings, this can cause leakages and other damages.
Install Mini Split AC With the Right Tools
If you have limited DIY experience, it is especially critical to have the right tools and materials to install your Mini Split AC. Many manufacturers offer specific mounting kits, which include the parts needed to install the Mini Split AC in the desired space. Additionally, it is useful to have protective safety glasses, drill bits, screwdrivers, and other tools at hand.
Avoid Rounding Tubes
Mini Split AC requires air ducts to circulate air. In order to maintain proper circulation, the right fittings have to be used to join two ducts running side by side. It is important to avoid roundings since they will restrict air flow and reduce the efficiency of the air conditioner. If you need help, it is wise to contact a qualified HVAC technician.
Verify Refrigerant Pressures
When setting up Mini Split ACs, it is important to ensure a good seal between the units and the inside walls. This can be verified with the use of a pressure gauge. The gauge should read “0” after the Mini Split AC is powered on and no positive or negative pressure readings should be seen.
Check Electrical Connections
Once the Mini Split AC has been installed and before any repairs are done, you should inspect the electrical connections with a tester. Your Mini Split AC should have an internal circuit breaker and should have an operating voltage of at least 240 volts. Be sure to double-check the circuit breaker to make sure it is in the “off” position before routing electrical wires or making any repairs.
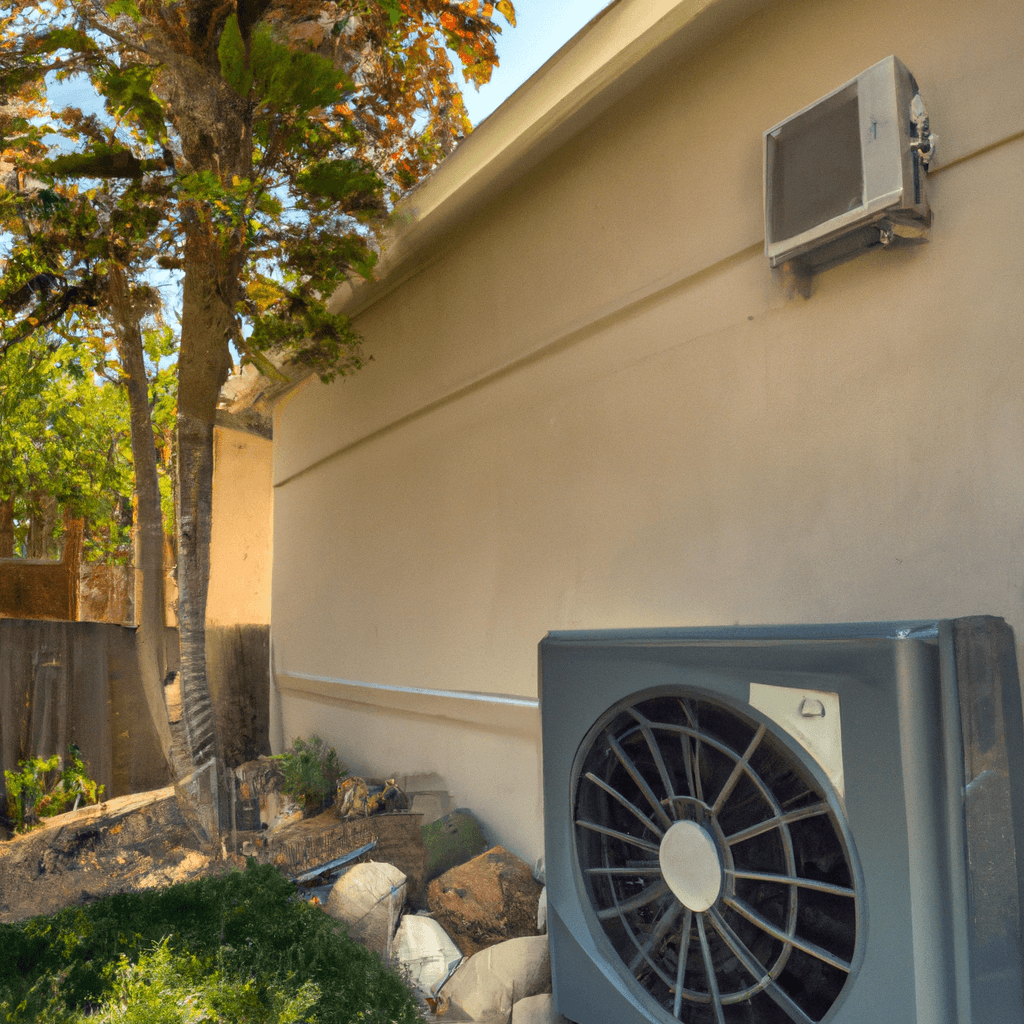
Install Mini Split AC in the Right Location
When installing a Mini Split AC, be sure to choose the correct location. Many Mini Split ACs are designed to be installed outside because they are much more efficient when the system is installed close to the ground in a location that gets ample sunlight. When installing indoors, the installation area should be cool and well ventilated.
Use a Condensate Pump With Your Mini Split AC
Mini Split ACs typically use a condensate pump to expel any moisture or condensation away from the house. This helps to maintain the overall efficiency of the system and the long-term performance of the Mini Split AC. It is highly recommended to have a professional HVAC technician install the condensate pump and double-check the connections with a pressure gauge to make sure it is functioning properly.
Call a Qualified HVAC Technician
If you encounter any difficulty or have any concerns about the installation of your Mini Split AC system, it is best to contact a qualified HVAC technician. In addition, these professionals will help maintain the Mini Split AC, perform any necessary repairs, and ensure the system is working correctly. This will help to minimize future repair costs and avoid loss of energy-efficiency. For expert HVAC installation and repair services, call Local Reliable Appliance Repair at (866) 311-8590.
Installing a Mini Split AC correctly is a complex and delicate process. Following this guide should provide some useful insight on how to go about installing your Mini Split AC as successfully as possible. However, it is highly recommended to contact a qualified HVAC technician if you have any doubts or concerns. With the help of a professional, you can ensure the Mini Split AC is properly and safely installed and you can enjoy a comfortable and energy-efficient home throughout the year.


Mini Split AC Installation Tips
Installing a mini split air conditioning unit is not a simple task, and it can be difficult to anticipate the potential problems that may arise. Therefore, it is important to seek the advice of both a manufacturer and a local appliance company or HVAC technician in order to obtain the most reliable advice when it comes to preventive actions that can help avoid issues during the installation of a mini split AC. Here are some of the recommendations they may make.
Consistent Temperatures
It is important to ensure the room is kept at a consistent temperature throughout the installation. The ideal temperature during the installation process is between 75 and 85 degrees Fahrenheit. This will help to reduce any potential issues that may arise during the installation process.
Proper Ventilation
It is important to provide proper ventilation of the indoor unit during the installation process. This can be done through the use of an exhaust fan, window, or other approved ventilation means. Without proper ventilation, there is a potential for the mini split AC to become damaged due to insufficient airflow.
Ensure Insulation
Before installing a mini split AC unit, proper insulation should be checked and installed, if needed. Insulation is necessary in order to ensure maximum efficiency and reduce energy costs over time. The HVAC technician or local appliance company can provide guidance on the type and amount of insulation needed.
Connect Leads Correctly
It is important to connect the various electrical leads correctly when installing a mini split AC in order to ensure the unit functions properly. The leads should be connected in accordance with the instructions provided with the unit, and double-checked by the HVAC technician or local appliance company.
Use Other Components
In addition to the main components of the mini split AC (AC unit, compressor, and outdoor and indoor units), it may also be necessary to purchase other components in order to ensure the unit is properly installed. These may include wiring, mounting hardware, and additional insulation materials.
Check Refrigerant Levels
Finally, it is important to check the refrigerant levels of the mini split AC prior to turning it on during the installation process. If the levels are too low, the HVAC technician or local appliance company should be contacted in order to safely add additional refrigerant.
By following these recommendations from the manufacturer, a local appliance company, or HVAC technician, homeowners can reduce potential issues during the installation of a mini split AC unit and help ensure the unit functions properly after installation.
Average Repair Cost for Mini Split AC Installation
Repairing and installing a mini split AC can seem intimidating, but saving money on the task is possible. In the City of California, a standard repair or installation will typically cost around 20% more than the average cost. This cost can often be reduced significantly by getting an itemized list of the necessary parts and getting quotes from different contractors.
The required parts for a mini split AC vary depending on the make and model. A standard system will usually include an outdoor unit, an indoor unit or multiples, an control unit, connecting wires, a disconnect box and channeling for the wires, an outlet, and installation supplies. If a drain pan or insulation is needed, the cost will be higher. Professional installation of these items can range from a minimum of $400 to upwards of $2,500 in some cases. It is recommended to get multiple quotes when possible.
For the best professional advice on installing a mini split AC, consider calling Local Reliable Air Conditioning & Heating at (866) 311-8590 (866) 311-8590. They offer competitive pricing and experienced technicians who can help get your AC system back up and running quickly.
Mini Split AC Installation: Tips to Make It Easy
Installing a mini split AC system can often seem daunting, but with the right preparation and tips, it can be an easy and stress-free process. Reliable Air Conditioning & Heating, a family-run company in California, offers same-day services for AC installation and repair.
Reliable’s highly trained technicians have a minimum of 5 years experience in HVAC repair and installations. They are knowledgeable about mini split AC installation tips and will provide reliable and competitive pricing.
Reliable is licensed and insured and offers a 90-day warranty on all repairs, giving customers added peace of mind. Tips for successful mini split AC installation include measuring the space, researching appropriate systems, and having an accurate inventory of tools and wiring.
For an easy and cost-effective mini split AC installation, hire Reliable Air Conditioning & Heating. With years of experience and same-day services, Reliable is the #1 choice for AC repair and installation in California. Get a reliable mini split system installed today with help from Reliable!
FAQ on Mini Split AC Installation Tips
What Are the Benefits of Installing a Mini Split System?
Installing a mini split system offers several benefits, such as efficient cooling, improved air quality, noiseless operation, and space-saving design. It also offers flexible temperature control, allowing you to adjust the temperature for different rooms independently.
What Makes a Good Location for a Mini Split Installation?
Choose a location that’s near an external wall and away from direct sunlight. Verify that the electrical outlet and drainage line are within a reachable distance from the chosen location. It is also important to allow for at least 6 inches of clearance for ventilation.
What Tools and Materials Do You Need for a Successful Mini Split Installation?
For a successful installation, you will need the following tools and materials: a level, duct tape, fasteners, drill bits, screwdriver, drill, measuring tape, utility knife, pipe insulation, flexible duct, and pipe stubs.
What Are the Steps Involved in Installing a Mini Split System?
The steps to install a mini split system are as follows:
1. Install the outdoor unit by mounting it on a stand or wall.
2. Connect the outdoor unit to the indoor unit using pipes and electrical wiring.
3. Connect the power source to the indoor and outdoor units.
4. Test your system to ensure that everything is working properly.
What Are the Common Mini Split Mistakes?
Common mini split mistakes include improper wiring, failure to insulate pipes and ducts, failure to level the outdoor unit, and incorrect placement of components.
For further questions about mini-split installation tips, please call Local Reliable Appliance Repair at (866) 311-8590.