Steps for Central AC Installation
Installing central air conditioning in one’s home is both complicated and expensive, but worth the effort for reliable and efficient cooling. We’ll provide some comprehensive guidance on the steps for Central AC installation, from cost considerations to the fundamentals of the setup.
Cost Consideration
Before installing central air conditioning, homeowners should consider the costs associated with the installation process. The initial purchase price of the system, including parts and labor, will likely account for the largest portion of the cost. Additionally, it’s important to factor in several other related expenses, such as those associated with replacing existing ductwork and purchasing additional materials.
Selecting the Right System
In order to properly install a central air conditioning system, you must choose the right one for your home. Firstly, you must understand the size requirements of your AC unit, as getting one that is too small will lead to insufficient cooling, while one that is too large could waste energy costs. Secondly, other considerations must be taken into account, such as the types of features available and how expensive they are. Assessing the price range of different AC systems can help homeowners narrow down their choice and pick the one that matches the budget.
Installing the System
Installing a central AC system can be a long and complicated process. It typically involves constructing an entirely new infrastructure to support the unit and connecting the necessary ducts and registers. The unit itself will often require creative and advanced connections to be made to proper electrical wiring and cooling lines, and a qualified and licensed technician should be consulted in order to ensure safety. On top of that, there are a variety of tests that must be performed after the installation is complete in order to make sure everything is functioning properly.
Regular Maintenance
Once a central AC system is installed, it’s important to set up a regular maintenance schedule in order to ensure the system continues to operate effectively. This involves two components: cleaning the system on a regular basis, and the scheduling of preventative maintenance visits by a qualified technician. Cleaning the system regularly will prevent the build-up of dust and dirt which can slow down the efficiency of the unit, while preventative maintenance visits will help identify and rectify any minor issues before they become major problems.
Final Thoughts
Installing a central AC system is a big investment, but can pay off in the long run in terms of convenience and system reliability. We recommend that anyone considering a central AC installation estimate all related costs upfront and thoroughly research their choices for selecting the right system for their home. Additionally, homeowners should be sure to have regular maintenance sessions to keep the AC unit running at peak efficiency. If you need professional assistance with the installation process, you can call a reliable appliance repair professional (like Local Reliable Appliance Repair at 311-8590) to help with the job.


Central AC Installation Steps: What are Manufacturer Recommendations?
Installing a new central air conditioner (AC) in your home can be a complex process, and it is important to ensure that all the necessary steps are followed correctly. To help ensure a successful installation, here are some advice and recommendations from manufacturers, local appliance companies, and HVAC technicians.
Make Sure the AC Unit Is Suitable
The first step to ensure a successful Central AC installation is to ensure the unit is suitable for the home and environment. Before purchasing a unit, make sure to research all the features and specifications, so that it can be correctly sized for the area and that it meets local energy-efficiency requirements.
Hire a Professional
When it comes to installing a Central AC unit, it is important to hire a qualified and experienced HVAC technician. A professional can help to ensure a safe and accurate installation, as each state and local codes may have unique requirements.
Prepare the Home
Before starting the installation, the home must be prepared. This includes clearing and cleaning any areas where the unit is to be installed, as well as ensuring that any ductwork or wiring is installed or upgraded as needed. An electrician must also be on hand to connect to electrical outlets and install necessary wiring.
Install the Unit According to Design
Once the home is prepared, the installation of the Central AC unit can begin. It is important that the unit is installed in the exact manner specified by the manufacturer’s instructions. This includes the exact location and any support or insulation that may be necessary.
Test the Unit
After installation, it is of utmost importance to test the unit to make sure it is operating correctly. This includes the wiring, air conditioning system, and control systems. An HVAC technician can help to ensure that the system is properly adjusted and programmed, and that any safety features, such as emergency shut off systems, are functioning.
Maintain Regularly
Finally, it is important to ensure that the unit is properly maintained. This includes regular inspections, filter and oil changes, and inspections of the wiring and system to ensure it is operating correctly.
When it comes to a Central AC installation, following these manufacturer recommendations and seeking professional assistance can help to ensure a successful installation and operation of the unit. It is important to research the unit beforehand and to hire a qualified and experienced HVAC technician who can help to ensure the unit is correctly installed and operating. Additionally, proper maintenance and regular inspections are necessary to ensure safe, efficient operation. If you have further questions, please call Local Reliable Air Conditioning & Heating at (866) 311-8590.
Average Repair Cost for Central AC Installation
The average repair cost for Central AC installation can vary greatly by region and by the complexity of the job. In the city of California, the average estimated cost of installing Central AC ranges around $5,437, though this can be significantly more or less depending on the project.
When it comes to complex repairs or installations, looking up a local, reliable source is key. If you need professional installation or repair help, Local Reliable Air Conditioning & Heating is a great choice.
As far as the parts required for Central AC installation, the itemized list of materials necessary may include:
- AC unit
- Metal connectors
- Flexible duct pipe
- Wall sleeves
- Heat pumps
- Insulation
- Thermostat
The cost of these additional materials depends largely on the specific model of unit you choose for your installation, as well as any specialized tools needed to complete the job.
No matter the level of complexity of the repair or installation, it’s important to do research and plan before starting a project. Having an itemized list of all the parts necessary for the job and understanding the associated costs is key for completing the job at a price you can afford.
For best results, enlisting the help of a professional can ensure everything is installed correctly, and without any unwanted costs along the way.
Setting Up Central AC Step-by-Step
Are you thinking of installing a central air conditioner? With the right tools, an experienced technician, and clear instructions, you can set up your new AC and be cool in no time.
If you want to get the job done professionally and quickly, choose Reliable Air Conditioning & Heating, California’s leading family-owned HVAC and appliance repair company. Our tried-and-true technicians have a minimum of 5 years of experience in the field and can carry out your Central AC installation quickly and affordably.
Below, we break down the Central AC installation steps for your convenience.
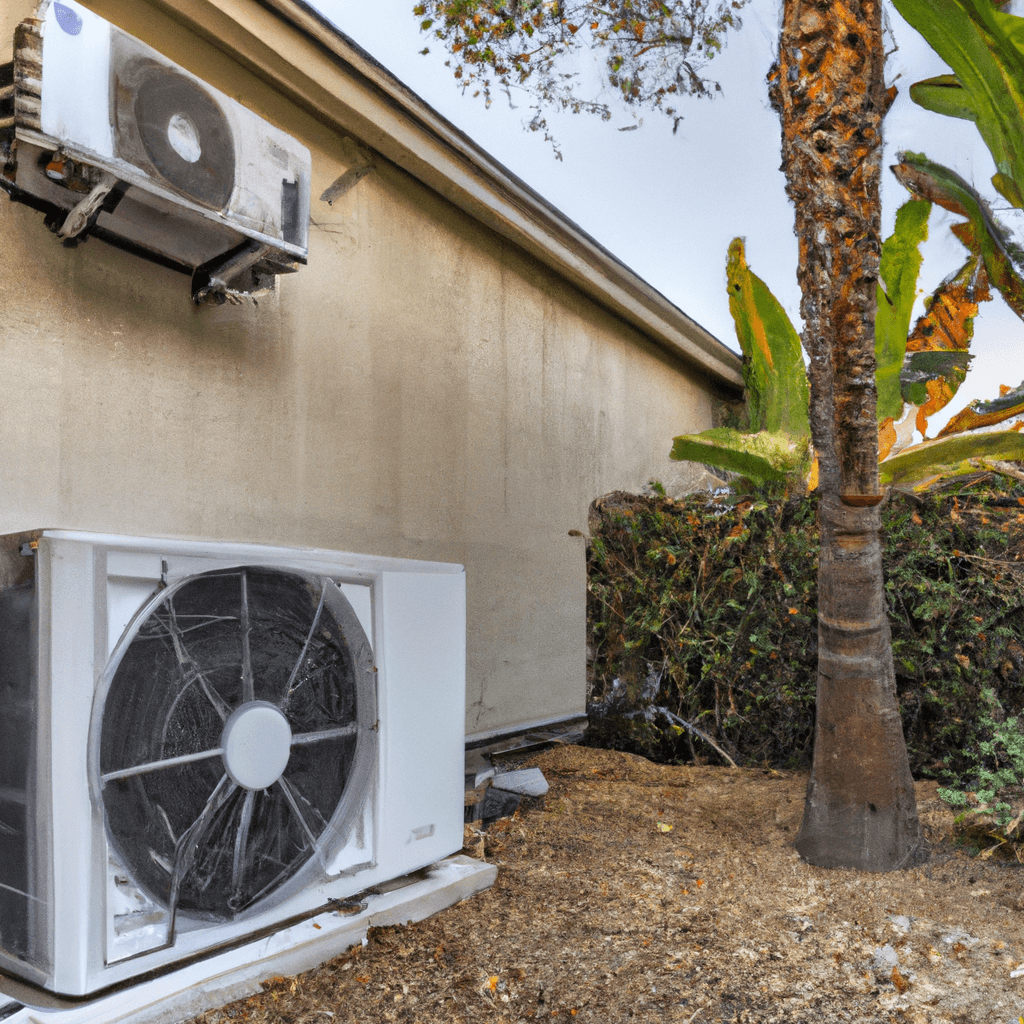
Installing the AC Condensing Unit
The first step in installing a Central AC is setting up the condensing unit, or the exterior portion of the AC. This consists of anchoring the unit and connecting the pipes and wires between the unit outside and the evaporator coil inside.
Installing the Evaporator Coil
The evaporator coil, which is found inside the home, connects to the condensing unit via refrigerant piping and wires. The coil must be securely affixed to the basement, attic, or other appropriate place.
Connecting Piping, Wires, and Drainage Lines
The next step is connecting the refrigerant lines and insulation to the condensing unit. This involves affixing both insulated and un-insulated piping, connecting the electrical service wires to the unit, and connecting the condensate drainage lines if needed.
Testing the System
Once all the components are connected, it’s time to test the system. The technician will turn the unit on and move through a series of tests to ensure that it’s operating correctly.
Benefits of Using Reliable Air Conditioning & Heating
Reliable Air Conditioning & Heating offers same-day services, a 90-day warranty on all repairs, and is licensed and insured. Plus, since all of our technicians have a minimum of 5 years of experience on the field, you can trust them to carry out Central AC installation with ease.
Are you ready to install your new AC? Get in touch with Reliable Air Conditioning & Heating today and let us take care of the rest.
FAQ: Steps for Central AC Installation
What Does Central AC Installation Involve?
Installing central AC involves a few steps, such as determining the best location for the outdoor unit, installing the thermostat and wiring, and ensuring the ducts are properly connected.
How Do You Select the Right Location for Outdoor Unit?
In general, it is best to place the outdoor unit in an area away from windows and doorways to ensure proper airflow. It should also have easy access to power outlets and the air handler located inside the home.
Where Should the Thermostat Be Installed?
The ideal spot to install a thermostat is in a location away from too much direct sunlight and other heat sources. This ensures that the reading from the thermostat can be as accurate as possible.
What Is the Process for Connecting the Ducts?
Connection of the ducts is critical for proper performance of the central AC. Ensuring that each duct is connected securely and that there are no air leaks in the line will ensure that your system runs efficiently and effectively.
For more help and advice with Central AC installation steps, it is always recommended to contact a Local Reliable Appliance Repair expert at (866) 311-8590.