Add call to action on every page.
Ruud AC Installation Video – Step-by-Step Guide
Homeowners who are thinking about replacing or upgrading their air-conditioning system need to know how to install a Ruud AC unit. Ruud air conditioners come in many models, and each requires a slightly different installation method. This step-by-step guide will take you through all the steps involved in the installation, so you can have a successful and safe Ruud AC installation.
Things You’ll Need
Before you begin your Ruud AC installation, make sure you have all the necessary supplies on hand, such as:
– A level
– Extension cords
– Long-nose pliers
– Electricians tape
– A pump
– An air filter
– Freon
– A filter dryer
– A wire stripper
– A soldering iron
– Hinges
– Sheeting
Step One: Plan Ahead & Locate the Area
Before you begin your Ruud AC installation, you’ll want to plan ahead and find a suitable area or location for your unit. Generally speaking, indoor units should be installed in a cool, dry location like a closet or attic and outdoor units should be installed in an open area. Take into consideration the type of the model, height and size of the area, and wattage requirements when selecting the spot.
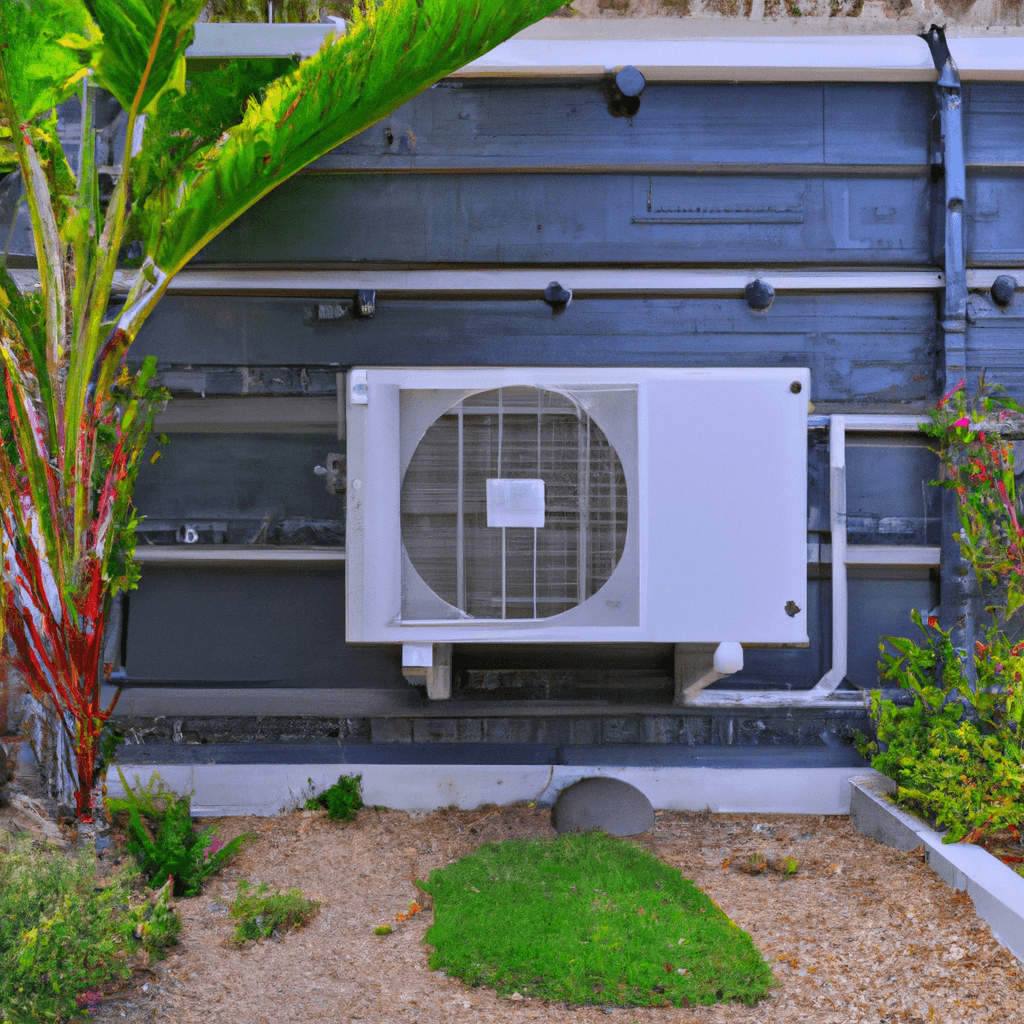
Step Two: Installing the Outdoor Unit & Accessory Kit
To install the outdoor unit, you’ll need to connect the refrigerant line and electrical wiring. With a few simple tools, you can quickly and safely install your Ruud AC unit. If a field access panel is provided, mount it onto the wall of the unit. Once complete, mount the condenser externally to the wall with the included brackets and screws. Remember to follow the manufacturer’s instructions and local building codes.
Next, install the accessory kit by connecting the ground wire to the ground terminal and route the line wires through the conduit. Connect the low voltage disconnect switch to the mounting plate and secure the line, low voltage power, and ground wires to the line, low voltage power, and ground terminal strips. Install the suction line to the side of the condenser, and then reconnect the power cord to the unit.
Step Three: Installing the Indoor Unit
The indoor Ruud AC unit can be installed in the attic, basement, or closet. Make sure there is plenty of space to facilitate any future maintenance, and take care to not block the exhaust. Secure the unit to the wall using the mounting bracket and screws.
Install the drain line at the end of the unit and attach the cover. Then, mount the grille covers onto the frame and connect the gas and electrical lines to the terminal blocks. Ensure all the components are securely fastened and the protective ground wire is in place. After that, connect the filter drip pan and supply air to the air handler.
Step Four: Connecting the Refrigerant Lines and Electrical Wiring
Once you’ve installed the outdoor and indoor units, you’ll need to connect the refrigerant lines and electrical wiring. First, you’ll need to connect the electrical wires to the correct terminals, using wire nuts or electricians tape. Make sure only qualified electricians are completing this step.
Next, you will need to connect the refrigerant line, usually with a decontamination pipe. To ensure the line is securely fastened, you may need to tighten the nuts with long-nose pliers. Finally, connect the relevant lines, drain water, and electrical power to the outdoor unit.
Step Five: Filling the Refrigerant System
In this stage of the Ruud AC installation, you will need to fill the refrigerant system with Freon and then measure the level. Attach the pump to the line and inject the Freon until the appropriate level is reached. Be sure to wear the necessary safety gear and follow the manufacturer’s instructions when handling Freon gas. Once the level is right, install a filter dryer between the line and the pump and attach the refrigerant hoses to the appropriate connection points.
Step Six: Finishing up
At this point, you are almost finished with the Ruud AC installation! Reinstall the access panel to the unit, followed by the decorative cover, and any other elements that were removed. Finally, you will want to turn on the power and check that it is running correctly by setting the desired temperature and observing the main control board.
If your Ruud AC unit is still not working correctly after this long series of steps, you may want to call a local, reliable appliance repair service to double-check the installation and address any possible issues.
Now that you have a better understanding of the installation process, you can easily and safely install your new Ruud AC unit. Remember to follow the manufacturer’s instructions and all local building codes for a successful and safe installation.


Ruud AC Installation Video: Considerations for Preventive Action
Whether it’s the intense summer heat or the cold winter chill, having a quality and reliable air conditioning (AC) and heating system is a must for many households. As such, proper installation is essential to ensure that your system runs efficiently, safely, and effectively. This article will take a closer look at considerations for preventive action related to Ruud’s AC installation video.
Manufacturer Recommendations
When installing any air conditioning system, manufacturers generally recommend that customers refer to the owner’s manual, take necessary safety guidelines into account, and adhere to local codes and regulations prior to beginning the installation process. To ensure proper installation, manufacturers often suggest that AC systems should be installed by an expert and licensed HVAC technician.
When installing a Ruud AC system, the company recommends verifying its size to ensure it fits the space, consulting their homeowner’s manual, and following their detailed instructions during the installation process. Additionally, they suggest the qualified technician should fasten the system securely, test all the wiring connections, and inspect the installation prior to powering it up.
Local Appliance Companies’ Recommendations
Aside from the manufacturer, local appliance companies also have their own recommendations for installation.
For example, local appliance companies suggest that customers make sure the installation location is away from any combustible material, verify that the unit is the correct size for the area, and confirm that all needed tools, supplies, and components are on hand and ready for use.
Local appliance companies often recommend that customers use a circular saw to customize the base of their AC system. Further, they suggest that customers observe the recommended torque noted in the manual when installing bolts and fasteners. Lastly, they advise customers to be mindful of local codes and regulations when running electrical lines to ensure safety.
HVAC Technician’s Recommendations
Lastly, when it comes to preventive action related to Ruud AC installation, it’s essential to take into account the recommendations of a professional and qualified HVAC technician.
HVAC technicians typically recommend that the AC is installed and serviced in accordance with national, local, and manufacturer codes. Additionally, they suggest setting up a system that’s slightly larger than the area where the unit is to be installed as this will help reduce humidity levels and offer greater comfort.
Technicians often recommend that the AC be properly secured to the structure and walls of the building and cutting any openings for the AC lines. Furthermore, they suggest checking the unit for any signs of damage and testing the electrical lines for proper wiring.
Overall, proper and safe installation of any AC system is essential to ensure it runs well and efficiently. As such, customers should keep in mind the recommendations of the manufacturer, local appliance companies, and HVAC technicians when it comes to preventive action related to Ruud AC installation video.
Average Repair Cost for Ruud AC Installation Video
Are you facing an issue with your Ruud AC installation video and need to replace or repair your system? Here’s the best professional advice on the average repair cost for this issue. The average repair or installation cost of replacing a Ruud AC system is estimated to be up 20% since the repair or installation is complex.
Parts needed:
– Blowers
– Compressors
– Copper wiring
– Fan motors
– Relays
– Valves
Depending on the extent and complexity of the repair, the cost of materials can range from $100 to $500. In some cases, even more, depending on the part. The cost of labor depends on the area where it’s being installed, but it should range between $400 and $800. For example, in the city of California, the cost of labor would be on the higher end at around $800 for the repair and installation.
To make sure you get the best repair and installation possible, consider calling a professional air conditioning and heating service, such as Local Reliable Air Conditioning & Heating. They can provide you with the most efficient and accurate repair or installation of Ruud AC systems.
Get the Latest in HVAC Technology Installed with a Ruud AC Installation Video
Are you looking for reliable air conditioning and heating services for your home or business? California’s Reliable Air Conditioning & Heating is a family-owned business with highly qualified technicians who specialize in Ruud AC installation videos. With a minimum of 5 years of experience in the field, their expert technicians will ensure your AC is installed properly and efficiently.
Reliable Air Conditioning & Heating offers same-day services, so you can be sure that your HVAC system is up and running quickly. Their fair and affordable pricing is sure to help you get the best value for your money. What’s more, Reliable is licensed and insured, making sure you get the best service possible. Plus, all repairs come with a 90-day warranty, giving you added peace of mind.
For the latest in HVAC technology, trust the professionals at Reliable Air Conditioning & Heating. With their efficient Ruud AC installation video, their highly experienced technicians will help you get the air quality and comfort your home deserves. Get the quality service and expertise you need at a price you can afford. Contact Reliable today for all your HVAC needs. Happy cooling!
FAQ about Ruud AC Installation Video – Step-by-Step Guide
What is the purpose of the Ruud AC Installation Video?
The Ruud AC installation video is designed to provide homeowners with a step-by-step guide to installing the Ruud residential air conditioning systems correctly.
How do I access the video?
The video is available free on Ruud’s website for direct viewing. Homeowners can also find a link to the video within their product’s Owner’s Guide/Installation Manual.
What types of air conditioning systems can I install using this video?
The Ruud AC Installation Video is intended to provide detailed instructions for the installation of Ruud Ultra and Ruud Achiever series residential split systems and 11-14 SEER configurations.
Are the instructions easy to follow?
Yes! The Ruud AC Installation Video is easy to follow. The step-by-step instructions are clearly outlined, and each topic is thoroughly explained.
Is there someone I can call if I need assistance during the installation process?
If assistance is needed, please contact Local Reliable Appliance Repair at (866) 311-8590 for professional assistance.