
Mini Split Wiring: A Detailed Guide to Connecting Your Mini Split to Your Home
Mini split air conditioning systems offer a convenient and energy-efficient way to stay cool during the hot summer months. At the same time, they are extremely versatile and reliable, allowing homeowners to install them anywhere they’re needed. However, mini splits require some specific wiring connections in order to operate. Knowing how to do this can save money by avoiding costly mistakes. In this article, we’ll explain the basics of Mini Split Wiring and provide some important tips for getting it right.
Step One: Gather the Materials and Tools You’ll Need to Wire Your Mini Split
The first step to mini split wiring is gathering the necessary materials and tools. You’ll need a few items, depending on the type of installation you’re doing:
- PVC conduit
- THHN/THWN wire, either twisted pair or stranded
- Emt, liquidtight, or other suitable conduit
- An appropriate sized circuit breaker
- A voltage tester
- Wire cutters
- Wire strippers
- Electrical tape
- Screwdrivers
Step Two: Turn off the Voltage at the Breaker
Before you start wiring your mini split, the power must be turned off at the breaker. This can be done by switching off the breaker, or simply by turning the voltage tester to the “off” position. If you’re installing an outdoor unit, you’ll also need to disconnect any nearby metal poles or fences that might act as an antenna for incoming electricity.
Step Three: Run the Wire and Secure It in Place
Once the power is turned off, you can begin wiring your mini split. Careful consideration should be taken into account when running the wires. It’s important to choose the path of least resistance, meaning the wire will run along surfaces that are easy to access, are dry, and are not subject to any corrosive elements such as water, sunlight, humidity, etc. Secure the wire with straps, zip ties, or other supports as required.
Step Four: Connect the Wire to the Mini Split
Once the wire has been run and secured, it’s time to connect it to the mini split. If applicable, remove the factory-supplied cord from the indoor unit to make room for the new wire. Separately feed the wire from the circuit breaker through the PVC conduit or other approved wiring specified in step one. Next, connect the wire to the terminals in the indoor unit and seal the connection with electrical tape. Then, connect the wires to the terminals in the outdoor unit and secure with a strap. Finally, connect the negative and positive wires together with the circuit breaker at the breaker box.
Step Five: Test the Connection
Once the wiring is completed, it’s important to test the connection to make sure it’s working properly. Do this by turning the breaker switch back on, then using the voltage tester to test the line voltage entering the unit. If the reading is within acceptable limits, you’re all set. However, if it is outside of the recommended range, you need to inspect the wiring to make sure it’s not damaged and that all connections are secure.
Conclusion
Mini split wiring can be a complex process, but if done correctly, it’s well worth your time and money. If you’re not confident in your abilities, consider hiring a professional to help you with the installation. At the same time, be sure to turn off the voltage at the main breaker, run the proper type of wire and conduit, and secure it firmly in place. Once the wiring is complete, test the connection to make sure it’s working properly before powering up your mini-split. For more detailed information and assistance, contact a reliable local appliance repair technician. They can provide expert advice on how to properly wire your mini split and make sure the job is done right.


Mini Split Wiring: Best Practices for Installation
Mini Split Wiring is a critical component when it comes to installing an air conditioner. As an integral part of the system, proper wiring is paramount as it helps ensure reliable performance and energy efficiency. To avoid wiring issues, manufacturers and qualified HVAC technicians recommend the following preventive action.
Consult With a Qualified Technician
Prior to the installation of a mini split, it is important to consult with a qualified technician. The technician should be familiar with air conditioning systems, as well as local wiring and building codes. This will help ensure that the wiring is done correctly and meets all safety standards.
Understand the Manufacturer’s Requirements
Prior to starting the wiring process, it is important to understand the manufacturer’s requirements and recommendations for installation. This includes the necessary connectors, wires, and other components that are needed for installation. If these components are not installed correctly, it may lead to wiring issues down the road.
Choose the Right Wiring
When wiring a mini split, it is important to choose the right wiring. This includes looking at the type of metal and insulation used in the wiring. The right metal and insulation are important as they help ensure that the wiring is durable and safe.
Get Professional Help
If unsure about any aspect of the wiring process, it is best to get help from a professional electrician or HVAC technician. They will be able to properly install the wiring as per the manufacturer’s requirements and help ensure that the wiring is done correctly.
Ensure Proper Connections
It is also important to make sure that the connections are made properly. Connections should be tight and secure, as loose connections can lead to shorts and other issues. Additionally, all connections should be clearly labeled for easy identification in the future.
Check for Continuity
Once the wiring is installed, it is important to check for continuity. This is done with a continuity tester and helps to ensure that there are no loose connections, shorts, or other types of wiring issues.
Inspect the Wiring
After the wiring is done and the connections are secure, it is important to inspect the wiring. This can be done visually or with a multimeter. This helps ensure that all connections have been made correctly and that the wiring meets all safety requirements and standards.
By following these manufacturer recommendations and taking proper preventive action, mini split wiring issues can be avoided. Consulting with a qualified technician, understanding the manufacturer’s requirements, choosing the right wiring, getting professional help when needed, ensuring proper connections and checking for continuity, as well as inspecting the wiring can all ensure that the wiring is done properly and without any problems.
The Average Cost of Mini Split Wiring Repair
Mini split wiring repair is an essential component of keeping your air conditioning and heating systems running smoothly. Depending on the complexity of the repair or installation and the part(s) needed, repair costs can vary significantly. Here we provide an overview of some of the factors that affect repair costs and review the minimum and complex repair costs in the city of California.
A qualified technician should inspect your unit and determine what parts may be needed to complete the repair. Typical repair parts include wiring, fuses, and capacitors. Depending on the particular issue at hand, additional parts such as circuit boards may also need to be replaced. If so, the cost of the repair can be expected to increase accordingly. In general, the cost of repair parts will increase in the city of California by up to 20% from the base cost.
In addition to the cost of the repair parts, labor costs should also be taken into account. Depending on the complexity of the repair or installation, the level of expertise required, and the location within the city of California, labor costs can range from as low as $100 to upwards of $1,000.
To make sure that your repair is done correctly and affordably, it’s important to hire a trusted and certified technician to conduct the repair. We highly recommend that you reach out to Local Reliable Air Conditioning & Heating at (866) 311-8590 to get in touch with a skilled technician who is qualified to conduct repairs in the city of California.
(866) 311-8590
Mini Split Wiring: Your Key to Reliable Air Conditioning & Heating
For Californian homeowners, having reliable air conditioning and heating services can make all the difference in the hot temperatures of the summer. Family-owned California Reliable Air Conditioning & Heating provides a range of services, including mini split wiring, to make sure you are set-up for success.
Reliable Air Conditioning & Heating offers same-day services for all mini split wiring and HVAC repairs and installations. Their technicians are highly-trained with a minimum of five years’ experience, providing you with the knowledgeable and quality service you need.
What’s more, Reliable Air Conditioning & Heating’s fair and competitive pricing is hard to beat. The company is also fully licensed and insured, so you can rest assured that they have the proper training and certifications to guarantee a safe and effective job every time.
For added peace of mind, Reliable Air Conditioning & Heating also offers a 90-day warranty on all repairs. This ensures that their services are of the highest standard and that any issues experienced in the initial period will be rectified.
In summary, with Reliable Air Conditioning & Heating, you can look forward to quality, same-day services and competitive pricing for any installation, repair, or wiring needs related to mini split. Plus, their 90-day warranty on all repairs means there will be no surprises or unwelcome bills down the line. With Reliable Air Conditioning & Heating, your home can stay cool and comfortable all year round.
FAQ – Mini Split Wiring
What is Mini Split Wiring?
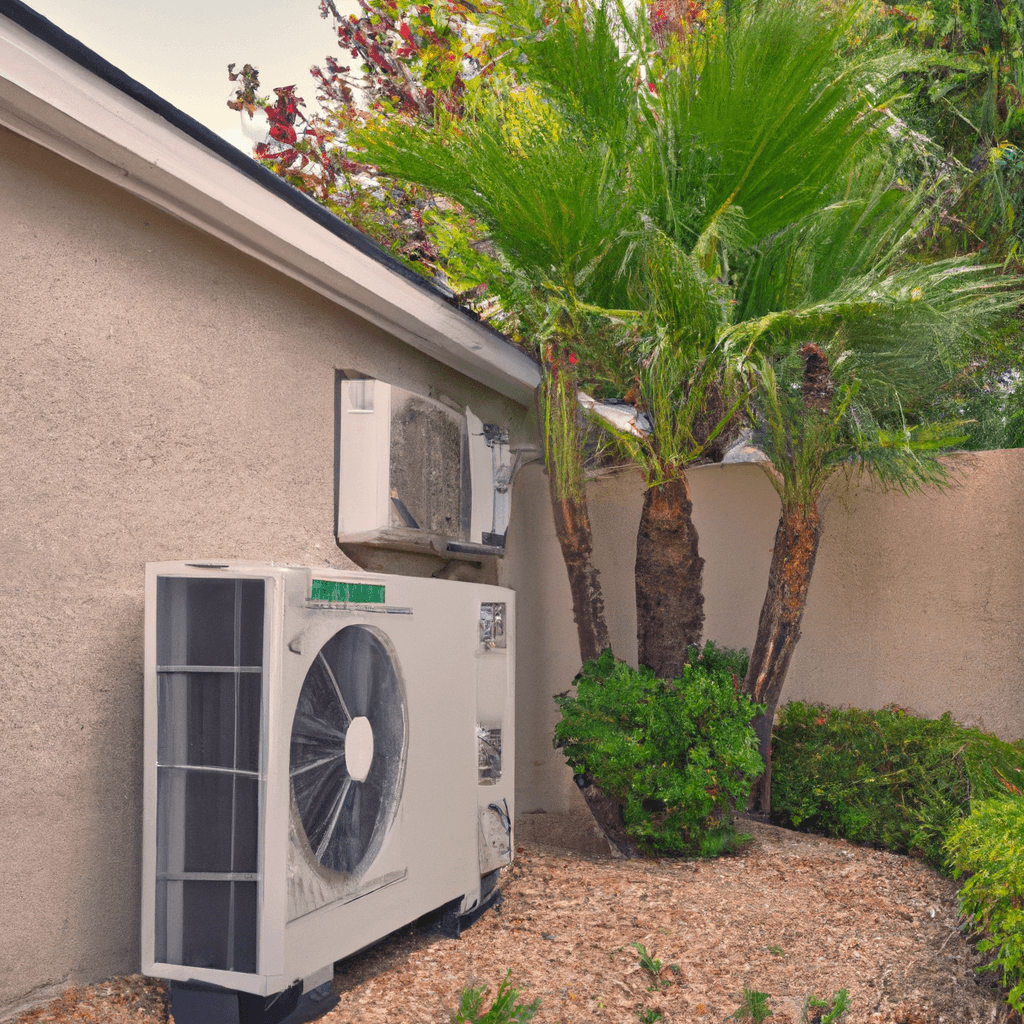
Mini Split Wiring is the electrical connection between the outdoor HVAC unit and indoor air handler. The wiring supplies consistent power to both elements and allows for the exchange of data between them.
What Gauge Wire do I Need for Mini Split Wiring?
The gauge of wire required for a mini split wiring job depends on the BTU size of the system. For systems up to 24,000 BTUs, standard 18-gauge wiring can be used. For systems between 25,000 – 48,000 BTUs, 16-gauge wiring is recommended. Anything larger than 48,000 BTUs should use 14-gauge wiring.
Can I Install Mini Split Wiring Myself?
It is possible to install mini split wiring yourself; however, it is not recommended. Mini split wiring projects require advanced electrical knowledge and tools that most homeowners don’t have. It is recommended that a professional be hired for a mini split wiring installation.
What Size and Type of Breaker do I Need for Mini Split Wiring?
The size and type of breaker needed for mini split wiring depends on the size of the system. For systems up to 20,000 BTUs, a standard 15-amp 2-pole breaker is recommended. For systems between 21,000 – 40,000 BTUs, a 20-amp 2-pole breaker is needed. Anything larger than 40,000 BTUs should use a 30-amp 2-pole breaker.
If you have any questions about mini split wiring, it is best to contact a local, reliable appliance repair company like Local Reliable Appliance Repair for assistance.