DIY Mini Split Installation: How To Install Your Own Mini Split System
DIY Mini Split installation can be intimidating, but with a little knowledge and proper instruction, it can be an achievable goal. Knowing what a mini split system is and understanding the essential components and processes involved in the installation will help you decide if you’re comfortable taking on the job or if you should seek professional help.
What is a Mini Split System?
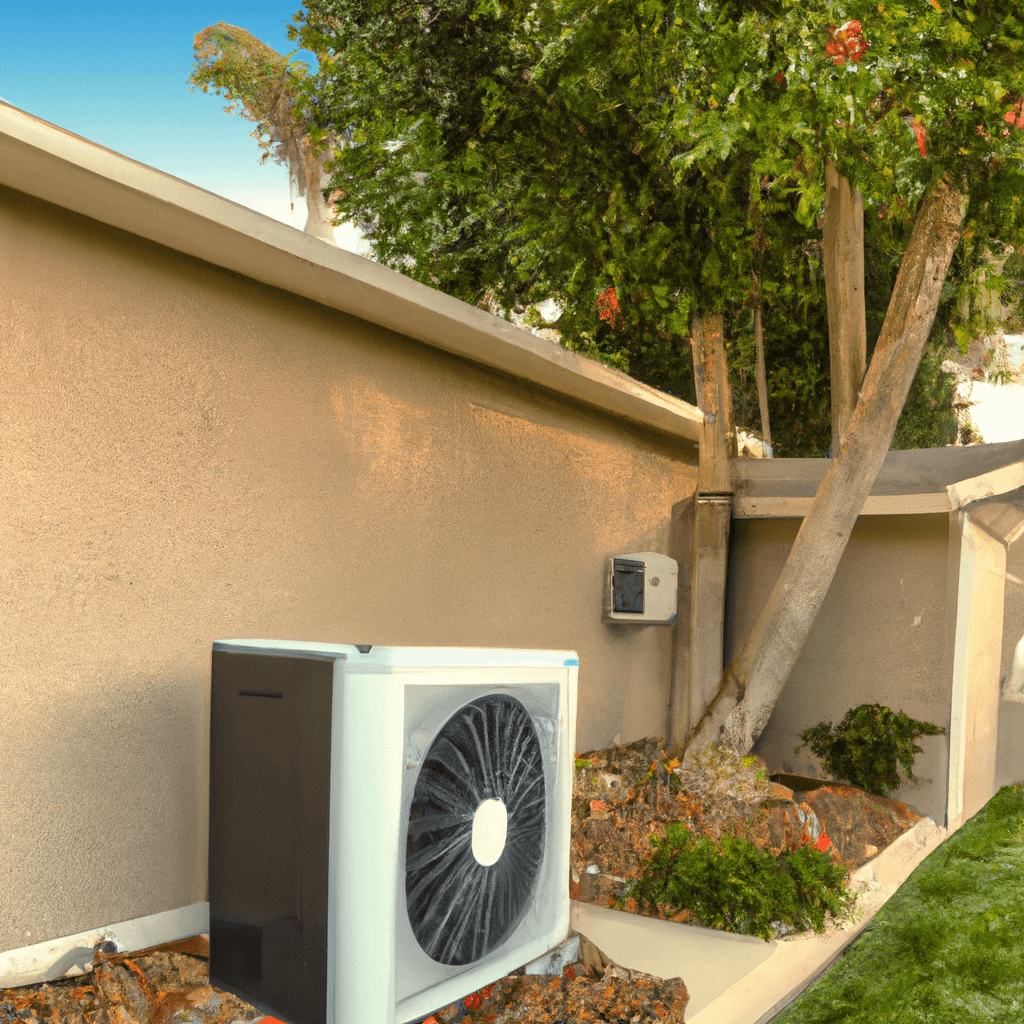
A mini split system is a type of air conditioning unit with separate parts for both the air handler and condenser. The main difference between a mini split system and a conventional air conditioning system is that with a mini split, the indoor and outdoor units are completely separate. This allows for greater flexibility with how you install the system, as you can install it in multiple zones allowing you to provide climate-controlled air wherever necessary.
What Parts Do You Need To Install A Mini Split System?
When attempting to install a mini split system, the first step is to make sure you have all the necessary components. Thankfully, many mini split systems come as a complete package with everything you need for the installation. This includes the following components:
- Outdoor unit (condenser)
- Indoor unit (evaporator)
- Refrigerant line-making kit
- Electrical wiring
- Wall unit mounting hardware
- User manual
- Remote controller
In addition to these components, you may also need a few tools for the installation. Some of the most commonly utilized tools include an impact/driver drill, an adjustable wrench, angle grinder, vacuum, tape measure, and a level.
Electric Line Installation
One of the main tasks when installing a mini split system is running the electric lines. This should always be done first, as it’s the first step in getting power to the system. You’ll need to locate an outdoor ground source, with a suitable entrance into the house. Then you’ll need to run the lines up along the wall, making sure you follow the instructions closely. Make sure to take extra care to ensure the lines are installed safely and securely.
Where To Mount The Wall Unit
Once the electric line has been installed, you’ll have to find the ideal place to mount the indoor unit. The wall unit should be installed in an area that gets sufficient airflow from the outdoor unit, and is not obstructed by any furniture or walls.
Once you’ve found the ideal location, you’ll need to secure it to the wall with the mounting hardware that came with the wall unit. Make sure to utilize a level when installing the wall unit to avoid misalignment. Also pay special attention to the user manual instructions when mounting the wall unit, as each system is different.
Leak Test To Prepare For Refrigerant
Once the wall unit is mounted, it’s time to prepare for the refrigerant installation. This is typically done with a leak test to make sure there are no leakages in the line-making package or any of the components. Use a vacuum to locate any potential leaks, patching them up as you find them.
Connect Refrigerator to Outdoor Unit
The next step is to connect the refrigerant lines to the outdoor unit. This process is complex, so it’s best to take the time to read the user manual and prepare yourself with all the information. Make sure to cover both the indoor and outdoor units with metal panels or something similar before making any connection, as extra protection from weathering.
Filling & Charging the System
Once the lines are connected, it’s time to start filling the system with refrigerant. This can be done by either using a vacuum pump or using the refrigerant that came with the mini split system. Make sure to follow the instructions in the user manual carefully when filling and charging the system.
Setting Up the Remote Controller
Once the system is charged and running, you’ll need to set up the remote controller, as this will allow you to control all the settings from a central remote. This usually involves connecting the controller to the power supply and to the unit, then setting up the required settings on the remote.
Start Up & Test the System
Before the mini split system is fully complete, you’ll have to test it and make sure all the settings are correct. This can be done by turning the unit on and setting it to the desired temperature parameters, then checking the readings to make sure the output is matching the input.
Finally, you’ll also want to test the remote controller to make sure it’s correctly controlling the settings.
When it comes to DIY mini split installation, it’s important to remember that it can be a complicated process. From running the electrical lines to filling and charging the system, there are quite a few steps involved that can take some time to complete. As such, it’s best to proceed with caution and make sure you understand the process before attempting to do the job yourself. However, with the right care and preparation, you can successfully install a mini split system with great results.
If you find yourself in over your head during the installation process, it’s best to call a local reliable appliance repair service such as (866) 311-8590 for assistance.


DIY Mini Split: Best Practices for a Successful Installation
Having a well-functioning HVAC system is an essential part of having a comfortable and safe home, and for that reason, DIY Mini Split installation can quickly become a matter of utmost importance. Though do-it-yourself installation offers many advantages in terms of cost and convenience, there are a few steps one must take to ensure that the installation is done successfully and without any issues.
Manufacturer Recommendations
When it comes to successfully installing a mini split system, the best piece of advice is to follow the manufacturer’s recommendations carefully. Depending on the model of the system, the steps and tools required for installation can vary significantly. By reading and following the manufacturer’s instructions, you can avoid any potential issues and get the most out of your new system.
Local Appliance Companies
Another great option is to hire a reliable appliance company to do the installation for you. Not only can they provide quality workmanship, but they can also help set up the entire system and make sure it is running correctly. Moreover, if you run into any problems during or after the installation process, a skilled technician can quickly diagnose the problem and help you resolve it.
HVAC Technician
One of the most important steps you can take to ensure a successful DIY mini split installation is to hire a qualified HVAC technician. A technician will have all the necessary tools and knowledge to safely and correctly install the system, and they can also provide valuable advice on how to maximize the system’s efficiency. In addition to avoiding any potential issues, a qualified technician can also provide routine maintenance and repairs if needed, ensuring that your system performs optimally for many years to come.
Preventative Action
In addition to following manufacturer recommendations and hiring a qualified HVAC technician, there are a few other steps you can take to ensure a successful mini split installation. Here is a list of preventive actions one can take to avoid any potential issues:
- Read and follow the manufacturer’s instructions for the model of your system.
- Wear protective clothing and safety gear when installing the system.
- Make sure to measure and level the wall or floor where the indoor unit will be placed.
- Make sure there is proper air flow and ventilation in the room.
- Check the compatibility of the electrical wiring with the size and type of system you’ve chosen.
- Have a licensed HVAC technician properly install the outdoor unit.
- Make sure to properly insulate any integrated pipes and wires.
- Make sure to test the system before turning it on.
Conclusion
By following these steps and using the right tools, you can significantly reduce the risk of any potential issues with DIY mini split installation. Though it may take some extra time and effort, the result is a safe and efficient system that provides comfort and reliability for many years.
Average Repair Cost for DIY Mini Split Issue
The cost of repairing a DIY mini split can vary depending on location and complexity of the repair needed. However, the minimum repair cost in California is usually around $150. This is up 20% from the cost of last year. The cost of a complex repair is usually around $500. Parts necessary for a repair can include items such as a fan motor, condenser, compressor, air handler, capacitor, relay, thermostat, and more. For an itemized list, we suggest talking to a local repair technician for an accurate estimation of the costs associated with the job.
Materials, such as a vent duct or new line-set, can also be necessary for any repair and can increase the cost of the job. For an accurate estimate of the repair fee and materials costs, it is best to contact a licensed air conditioning and heating technician who can assess the issue and provide a quote. Here at Local Reliable AC & Heating, our team of licensed technicians are always happy to assist with your mini split repair needs at 866-311-8590.
Enjoy a Comfy Home with DIY Mini Split
Reliable Air Conditioning & Heating is a family-owned business in California that specializes in providing same-day services for appliance and HVAC repair and installations. Our team of highly trained technicians have a minimum of 5 years experience in the field and are constantly dealing with DIY Mini Split projects.
At Reliable, we understand the importance of keeping your home comfortable and know that DIY Mini Split offers an adjustable and cost-effective way to do so. Our reliable services provide you with the ability to enjoy smart temperature control that goes beyond pre-set thermostats. We install, maintain, repair and provide any other need you may have when it comes to DIY Mini Split systems.
When you choose Reliable, you can rest assured knowing you’re getting quality workmanship at fair and affordable prices. We are licensed and insured and offer a 90-day warranty on all our repairs. Our team is available for same-day services, so you can rely on us to get the job done quickly and efficiently.
Whether you need air conditioner repairs or are looking to install a new DIY Mini Split in your home, Reliable Air Conditioning & Heating is here to help. Our experienced technicians provide quality workmanship so you can enjoy a comfortable home without worrying. Get in touch with us today and let us help you find the perfect DIY Mini Split system for your needs.
FAQ: DIY Mini Split Installation and DIY Mini Split
What is a mini split?
A mini split is a type of heating and cooling system that does not require ducts for climate control. It consists of an outdoor unit that is connected to one or more indoor units by copper refrigerant piping and electrical wiring. The outdoor unit houses a compressor, condenser coil, and expansion valve, while the indoor unit contains the evaporator coil, fan, and air filter.
How is a mini split different from other heating and cooling systems?
Unlike traditional systems, such as central air conditioners and furnaces, mini splits are adjustable. This makes them an excellent choice for zones with localized temperature control needs, as well as for supplemental heating and cooling. Mini splits are also easy to install, use, and maintain.
What is involved in DIY mini split installation?
Most DIY Mini Split installation will require cutting holes in walls and ceilings, running electrical wiring and refrigerant piping, and sealing the connections with special material. You should also be familiar with testing connections and charging the coolant. If you feel uncomfortable managing any of these tasks, it is advisable to rely on a professional HVAC technician to ensure the job is done right.
What are the benefits of installing a mini split system?
Mini split systems provide numerous benefits over traditional HVAC systems. They are more energy efficient, offer precise temperature control, run much quieter, and are better suited for cooling and heating areas with limited access. It’s also possible to save money by eliminating the ductwork associated with other systems.
What types of issues should I look out for when attempting DIY mini split installation?
Due to the complex nature of the project, it is important to take your time and pay close attention to details. It is also essential to use the right tools, correctly size the mini split, ensure precise refrigerant pipe connections, maintain sufficient refrigerant levels, and verify that the system runs smoothly once completed.
What if I cannot complete the installation process?
If you are uncomfortable managing any of the steps in the installation process, it is best to seek professional help. Local Reliable Appliance Repair is the trusted source for efficient and cost-effective mini split installation. Call them at (866) 311-8590 for expert advice and service.