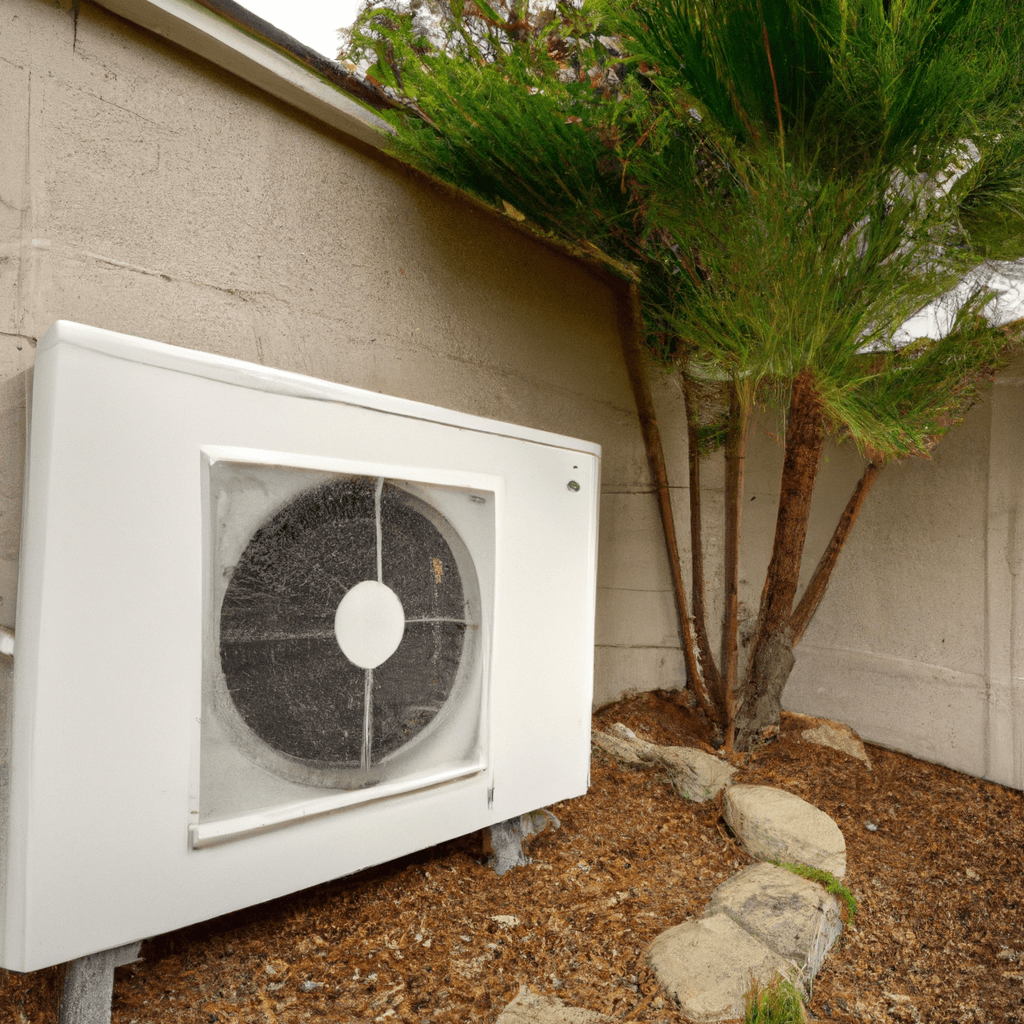
Cleaning Carrier AC Coils: Tips and Tricks
Cleaning Carrier AC coils can be a tricky and time consuming task, but it is something that needs to be done regularly for optimal functioning of the AC unit. Neglecting to clean the coils can lead to reduced cooling efficiency and possible break downs of the system. Luckily, with the right tips and tricks, cleaning these coils is something that can be done quickly and efficiently.
Knowing When to Clean
The most important part of knowing how to properly clean Carrier AC Coils is to know when the units need cleaning. The answers to this will vary depending on the AC unit and the environment that it is placed in, however most coils require annual cleaning at minimum. The frequency of cleaning may increase in areas of high humidity, debris, or dust. You should also take note of any loud or strange noises that may be coming from the AC to determine if the coils have become too clogged or dirty.
Proper Cleaning Techniques
When it comes to properly cleaning Carrier AC Coils, it’s important to make sure that you are taking the right steps. Start by turning the AC off and then unplugging it from the wall to ensure that it is not connected to any power source. Next, remove the top part of the air conditioner and the access panel. Using caution, take out the fan and its motor from the unit. It is important to note that the fan blade should turn freely with no noticeable burning odor.
Using a hose or pressure washer with low pressure, you can then spray the outdoor coil with a nonabrasive detergent. The pressure should be low enough that it will not cause any damage, but high enough to remove any debris that has built up between the coil fins. Be careful not to directly spray onto the motor and try to avoid wetting the insulation or wiring inside the unit.
Although a hose or pressure washer may be enough to clean the outdoor coil, it may not always be adequate for the indoor coil. The indoor coil should be cleaned with a foam/no-rinse coil cleaner or an Acid-based coil cleaner. A coil brush is also an effective tool to use when removing dirt and grime. With the acid-based cleaner, you can spray the inside of the coil, letting it set for ten minutes before scrubbing it clean with your brush.
Final Thoughts
Cleaning Carrier AC coils is an important part of keeping the AC unit functioning properly and efficiency. With the right information and supplies, the task can be completed quickly. If there is any question as to how to properly clean your unit or if you need assistance, it is always recommended that you seek the advice of a professional. Fortunately, there are a number of reliable, local AC repair and service providers in the area that can help you out with all your AC needs.


Avoiding Carrier AC Coil Cleaning Issues
The installation of Carrier air conditioners and other HVAC systems can be a tricky process that must be done properly in order to ensure the safe and efficient operation of your unit. With that being said, here are some manufacturer recommendations and preventive measures that can help you avoid potential Carrier AC Coil Cleaning issues.
Call a Local Air Conditioning & Heating Company
The first piece of advice when it comes to Carrier AC coil cleaning is to contact a local air conditioning and heating company such as Local Reliable Air Conditioning & Heating (866) 311-8590. Working with an experienced HVAC technician can help ensure that all of the proper steps are taken during the installation process and can help ensure the proper performance of your Carrier AC.
Check for Proper Unit Placement
Another important step for Carrier AC coil cleaning is to make sure that the unit is placed in the proper location and in accordance with the manufacturer’s recommendations. This is especially important when it comes to properly directing the airflow from the unit and ensuring that it is working efficiently.
Use Proper Coverings
In order to protect the Carrier AC from dirt, debris, and other potential hazards, the proper coverings should be used. These coverings should be specifically designed for use with Carrier AC units and should be inspected regularly for signs of wear and tear.
Clean the Condenser Coils Regularly
To ensure that the Carrier AC is working as efficiently as possible, the condenser coils should be cleaned regularly with a soft brush or cloth. This will help to remove any dirt and debris that have accumulated on the coils and will help to ensure the proper operation of the unit.
Inspect the Refrigerant Line
Finally, it is important to inspect the refrigerant line on a regular basis. This will help to identify any blockages or leaks that may be present in the line and can be corrected quickly to avoid any potential problems with the Carrier AC.
By following these recommendations and preventive measures, you can help to ensure that your Carrier AC is operating efficiently and safely. Furthermore, working with an experienced HVAC technician can help to ensure that all the necessary steps are taken during the installation process and can provide peace of mind when it comes to the safety and performance of your Carrier AC unit.
Average Repair Cost for “Carrier AC Coil Cleaning”
Repairing a Carrier AC coil in California can cost anywhere from the minimum installation price of around $800 up to a complex repair cost at around $1500. Depending on the damage, the cost of parts and materials may also need to be taken into account.
To ensure the job is done right, consider calling Local Reliable Air Conditioning & Heating (866-311-8590) for a reliable and professional service.
Common parts and materials that could be required for repair include:
– Blower Motor
– Drain Pan
– Electric Heater Coil
– Expansion Valve
– Fan Blade
– Refrigerant Line
– Relays
– Solenoid Valve
The cost for each of these parts and materials can range from $200 to $500, depending on the brand and condition. The cost of installation can also vary, and professional advice should be sought before deciding on the repair option.
Keep in mind that the cost of repair could be higher due to the increased prices in California, but it is still worth investigating all options to get the job done right and ensure maximum efficiency of the AC unit. Professionals and reliable companies like Local Reliable Air Conditioning & Heating will be able to advise on the most suitable performance and cost-effective solutions.
The Benefits of Reliable Air Conditioning & Heating
Are you looking for a dependable and reliable contractor to handle your Carrier AC Coil Cleaning? Look no further than Reliable Air Conditioning & Heating. As a family owned and operated business in California, Reliable has earned the trust of homeowners throughout the region by providing same-day service for appliance and HVAC repairs and installations.
The technicians at Reliable are highly trained, with a minimum of five years of experience in the field. They have the expertise to quickly and accurately diagnose any issue your AC may be having, and they deal with Carrier AC Coil Cleaning regularly, so you can trust them to properly maintain your coils.
In addition to providing excellent service, Reliable Air Conditioning & Heating also offers a price match guarantee and competitive rates. Not only do they provide fast, same-day services, but they also give a 90-day warranty on all repairs and replacements. They are also licensed and insured, so you can trust them to do the job properly.
When you want top-notch service and expertise to take care of your Carrier AC Coil Cleaning needs, turn to Reliable Air Conditioning & Heating. As a family-owned business with years of experience and highly trained technicians, they can provide you the best service and keep your AC up and running. For fast, reliable service and competitive prices, Reliable Air Conditioning & Heating is the best choice.
FAQ – Cleaning Carrier AC Coils: Tips and Tricks
h4. How do I clean Carrier AC coils?
The coils in your Carrier AC unit should be cleaned every few years so that the unit may remain in top condition. To clean, turn off the power at the circuit breaker, remove the unit’s front panel, and use a vacuum with a hose attachment to vacuum away any debris, dust, or dirt from the coils. Use a soft brush to carefully scrub away any debris or dirt in the fins. A coil cleaner product may also be used to efficiently wash away any dirt or grime buildup.
h4. Can I use a garden hose to clean Carrier AC coils?
No, never use a garden hose to clean your Carrier AC coils as this could damage the unit. Too much water pressure could bend, warp, or strip the fins. It is strongly recommended to only use a vacuum with a hose attachment.
h4. How do I access the Carrier AC coils?
The Carrier AC coils may usually be accessed by careful removal of the unit’s front panel. Carefully inspect the unit and refer to the instruction manual to properly remove the panel and safely access the coils.
h4. Is it necessary to use a coil cleaner to clean the Carrier AC coils?
No, a coil cleaner is not necessary, but it may help to dissolve any grime buildup on the coils and help to properly clean the unit. It is important to follow the instructions on the product before use and to use the cleaner in a well-ventilated space.
It is important to remember to turn off the power to the unit at the circuit breaker before beginning any cleaning or repair work. If you are uncomfortable or unsure about how to properly clean the coils, consider calling Local Reliable Appliance Repair at (866) 311-8590 for further assistance.

