Always use appropriate grammar, punctuation and spelling.
Can You Replace an AC Capacitor Yourself?
Replacing your AC capacitor requires some knowledge and skill in order to be done safely and properly. It’s not a difficult task and can be done by DIYers following the right instructions, but it is important to understand the process and risks, as well as have appropriate tools and supplies on hand.
In this article, we’ll explain what an AC capacitor does, and how to go about determining whether it needs replacement and how to do the job if it does.
What is a Capacitor?
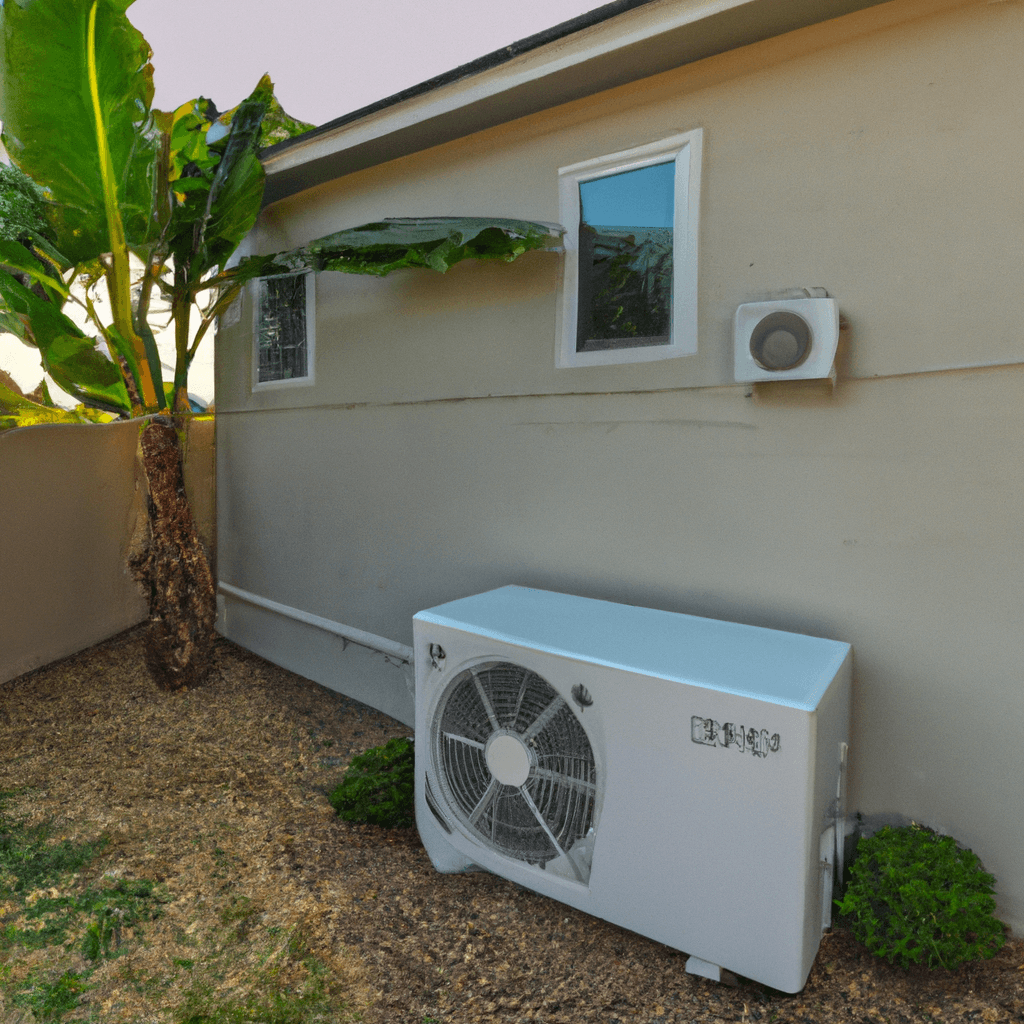
An AC capacitor is an electrical component that helps the compressor and fan motors operate efficiently. It helps to store up energy for when its needed and to release energy during peak times. When a capacitor fails, the electric motors (the compressor and fan motor) will run inefficiently, if at all.
Testing a Capacitor
The first step in determining whether a capacitor needs replacing is to test it with a capacitor meter. This device will measure the current being delivered to the motor. If the reading is low or off, then it is time to replace the capacitor.
Types of Capacitors
When replacing an AC capacitor, it is important to know the right type to buy. The most common type of capacitor is a dual-run capacitor, which is used for both the fan and the compressor. It is important to purchase a capacitor with the exact specifications as the original.
DIY Capacitor Replacement
Before attempting to replace an AC capacitor, make sure the electricity to the air conditioning unit has been disconnected from the mains. Always use rubber gloves and safety goggles when handling any type of electrical component. Open the service access panel at the top of the unit and locate the existing capacitor. The two wires should be labeled as “Start” and “Run”. Carefully disconnect these. To remove the old capacitor, use a screwdriver to unscrew the two screws that secure it to the panel, and then lift it out. Then, take the new capacitor to the air conditioning unit and attach the Start and Run wires to their respective terminals. Secure the capacitor in place with the screws and replace the access panel. Finally, re-connect the power supply and your AC unit should be working again.
Safety Precautions
When replacing an AC capacitor, always exercise caution and safety. Even when the power is off, the capacitor may have enough residual voltage to give you a nasty shock. Also, if the unit has any other troubleshooting issues, it is important to have a qualified technician look at it to ensure the job is done right and safely.
Making sure your AC capacitor is in good condition is an important part of maintaining the longevity and efficiency of your air conditioning unit. Befoe attempting to replace the capacitor yourself, consult a qualified technician in order to determine whether a DIY job is a wise decision. If it is, then following the steps above can help make sure you get the job done properly and safely. If you’re still not sure, there’s no shame in calling a local, reputable appliance repair and maintenance company – like Local Reliable Appliance Repair at (866) 311-8590 – for help.


DIY Capacitor Replacement – Best Practices & Recommendations
Replacing capacitors can be a risky task when done on your own, as it requires special technical knowledge and understanding of the whole HVAC system. While DIY Capacitor Replacement can offer potential savings in achieving optimal HVAC system performance, inexperienced DIYers can incur costly repair fees due to mishandling of the system. To avoid any DIY capacitor replacement issues and ensure the best operation of your HVAC system, it’s important to know the best practices and recommendations that both local appliance companies and HVAC technicians suggest.
Below, we will go over some fundamental rules and major points that everyone should be aware of before attempting a DIY capacitor replacement.
Have the Right Tools
It is essential to have the correct tools or equipment for replacing HVAC capacitors. This includes a digital multimeter, wire stripper and crimper, needle nose pliers, drill, screwdrivers, and an AC voltage tester. Moreover, it is wise to buy high-quality parts from a trusted supplier or manufacturer, as cheaply made or counterfeit products can lead to malfunction and failure.
Ensure Power is Turned off
Before working on any HVAC capacitor, make sure the power is turned off. This should not be overlooked, as the capacitor will retain a charge even after the power is shut off and the live wire can cause an electric shock if touched.
Check the Capacitor’s Ratings
Carefully double-check the capacitor’s ratings and ensure they match the ratings on the existing capacitor. Electrical ratings are non-negotiable and must match exactly or the new capacitor will be damaged and may lead to circuit damage or unnecessary repairs.
Note the Location of Wires
Note the location of the wires and correctly place them on the new capacitor. Take pictures and make sure the terminals are correctly labeled prior to disconnection. This can greatly help to keep track of the wires and will ensure that the capacitor is operated as intended.
Insulate the Connections
After the new capacitor is in place, it is necessary to insulate the terminals and connections with electrical tape to prevent shorting. Additionally, it is advisable to check the air-flow and refrigerant levels before turning the unit on.
Consider Professional Service
Finally, even with understanding the best practices and recommendations, a DIY capacitor replacement could still lead to costly repairs and damages if done incorrectly. It is wise to consult a professional HVAC technician with sufficient experience in replacing capacitors and have them come over to assist with your capacitor replacement.
When it comes to tackling DIY capacitor replacement, it is important to understand and undertake the above-mentioned best practices and recommendations. They are necessary to ensure that your HVAC unit is handled in the best way and the capacitor will be installed correctly. Therefore, if you are attempting a DIY capacitor replacement or are uncertain on how to properly replace the capacitor, hire a professional HVAC technician.
Average Cost for DIY Capacitor Replacement in California
Replacing a capacitor can be a cost-efficient DIY job, but it requires the right knowledge and parts. On average, the repair cost of a capacitor in California can range from a minimum of $125 up to $300 or more, depending on the complexity of the repair.
The cost of materials is relatively inexpensive and generally includes a new capacitor, which can range from $5 – $50, depending on the type and size needed to complete the repair. In addition, other materials such as electrical tape, wire connectors, a screwdriver, nut driver, or wire strippers may be needed.
For complex installations or repairs, it is best to call a reliable heating and air conditioning specialist. Local Reliable Air Conditioning & Heating at (866) 311-8590 can provide trusted advice and skilled installation services, connecting customers to reliable, affordable experts.
It is important to note, that prices for any service can vary by city and state, so it is best to obtain a few, local estimates before selecting a service provider.
It is also important to remember to safely shut off power to the unit prior to opening and completing any repairs or installations. Doing so can help to prevent any potential electrical shock and help ensure your safety while performing the repair.
DIY Capacitor Replacement
Replacing a capacitor is a job best left to the professionals. California Reliable Air Conditioning & Heating is a licensed, insured, family-owned company offering same-day services to get comfort back, fast. Their highly trained technicians have a minimum of five years’ experience and specialize in DIY capacitor replacement.
You can trust in their top-notch service and pricing that won’t break the bank. What’s more, they offer a 90-day warranty on all repairs. This way, you are guaranteed satisfaction, every time.
At California Reliable Air Conditioning & Heating, customers come first. They strive for same-day service, use quality parts, and are passionate about providing timely repairs that last. So, whatever the problem, you know you can count on the professionals for a job done right the first time.
Don’t risk it when it comes to your home: trust California Reliable Air Conditioning & Heating for dependable DIY capacitor replacement. With their reliable know-how and consistent results, you can rest assured that your home will stay cool and comfortable this summer.
FAQ: Can You Replace an AC Capacitor Yourself & DIY Capacitor Replacement
Can You Replace an AC Capacitor Yourself?
Replace an AC capacitor yourself? Yes, you can replace your capacitor for an air conditioner yourself, but an experienced and certified professional is best to perform the task. Read through the directions below for an overview of the process involved.
What are the Steps to Replace an AC Capacitor?
To replace an AC capacitor, you’ll need to take the following steps:
– Shut off power to the air conditioner.
– Take off the casing around the capacitor.
– Unhook and discard the old capacitor.
– Disconnect the wires.
– Install a new capacitor and connect the wires.
– Re-attach the compressor motor and wiring.
– Put the casing back on.
– Turn on the power to the AC.
What are the Benefits of Replacing an AC Capacitor?
Replacing an AC capacitor has several benefits. These include improved energy efficiency and greater stability of the air conditioning system. Additionally, a new capacitor can mean quieter operation and a longer life for your air conditioning system.
What type of AC Capacitor should I Replace it With?
It is recommended to replace your old AC capacitor with the same size, voltage, and M.F.A.R. rating (maximum frequency of rejection). Carefully measure and note the M.F.A.R., then select a new capacitor with the identical size, voltage, and rating.
For best results and peace of mind, we recommend having a professional technician replace your capacitor. Call Local Reliable Appliance Repair at (866) 311-8590 to discuss your specific needs.